


Hi all. I thought it was about time to re-introduce myself and open up my lutherie efforts for the mandolin world to see.
While it appears from my post count that I am new member here, I am have actually been a member for a number of years and, for some reason, lost my identity a while back. Not being a been particularly active member on the board, I have never been too bothered by it. Up till now, I tended to stop by every once in a while to lurk about the various message boards and then go pick up my MK for a bit. Recently, though, I decided that my mandolin playing (if you care to stretch the meaning of that word) might need to be offset with mandolin building.
Back in December, I decided to start the journey and build my first F-Style mandolin, from scratch. Now that I am into it by a few months, I have decided to a post some of my progress here on the Café.
Just so you know, I have never built any kind of musical instrument before. This is my first. To get started, I bought two books - The Ultimate Bluegrass Mandolin Construction Manual by Roger H. Siminoff and The Mandolin Manual: The Art, Craft and Science of the Mandolin and Mandola by John Troughton - and read about every on-line document I could find before starting.
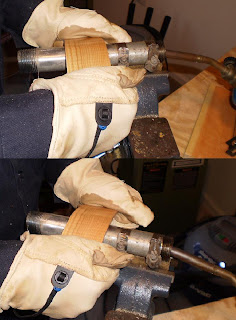
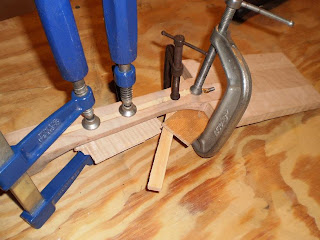
The this and the next few posts will show several pictures of my most recent steps - still a long way to go.
A shot of the soundboard, sides and tone bars all glued together.
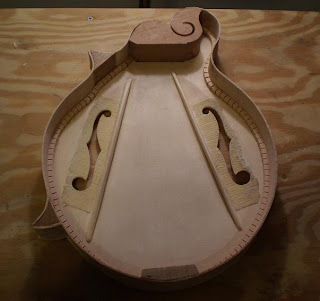
And here is where I am as of yesterday. The back is pretty much carved and now I am in the process of basic smoothing and then getting my thicknesses right. This I plan to do from the inside.
If you are interested, I also have a blog that shows all the gory details up to this point. The pictures I am posting here are only a small portion of what I have on my blog. You will find a link to it in my tag-line.
Please feel free to criticize, make suggestions, or in absolutely necessary, throw tomatoes.
Thanks in advance for the allowing me this indulgence.
Steve


 Reply With Quote
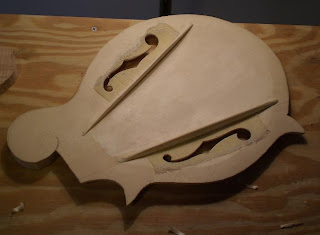


Bookmarks