


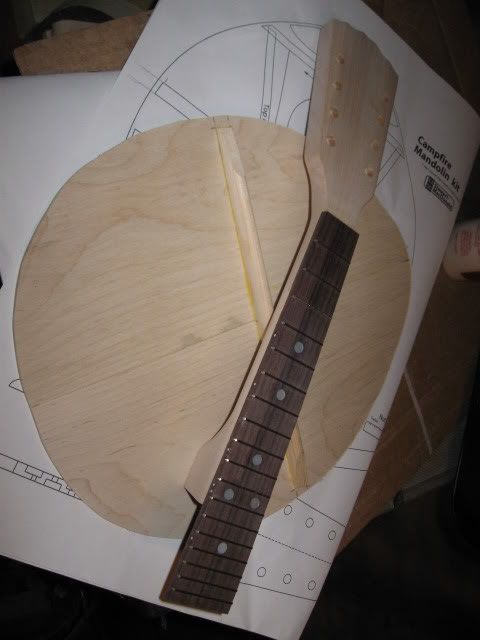
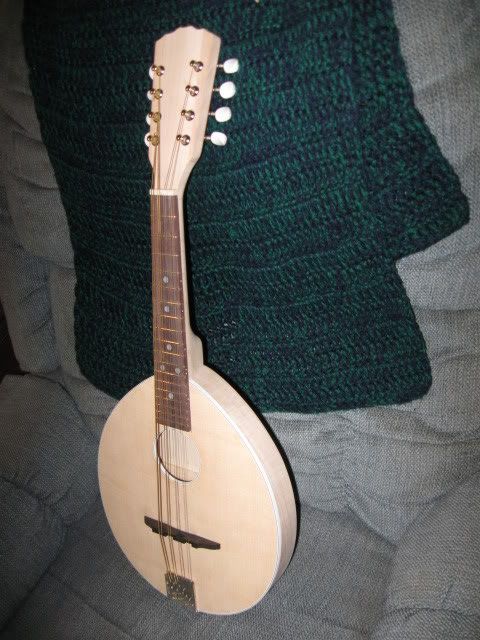
I received a Campfire Mandolin kit this year as a gift. (from Santa). I've been working on it since and only have finishing to do. I did take a few photos and did have a few hiccups along the way so I though I should share them in the event the anyone else can use my experience.
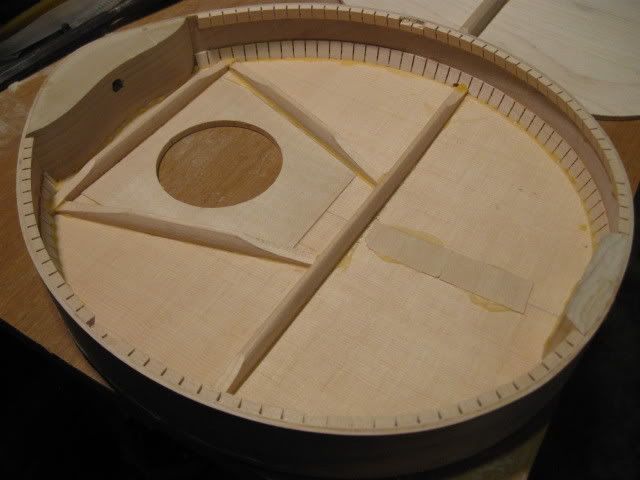
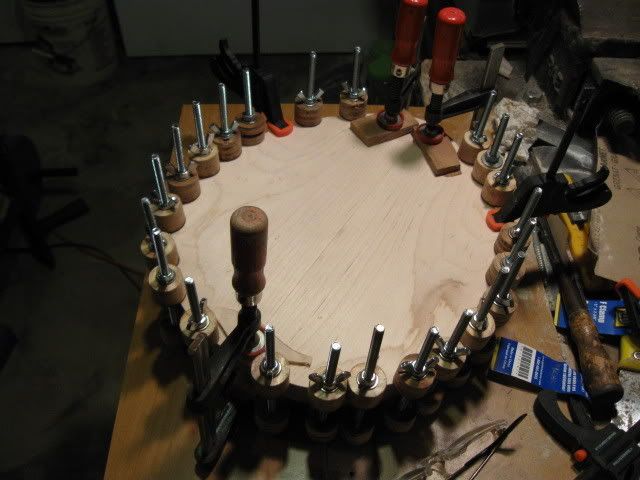
I followed the instructions pretty much to the letter. I regret not starting to photograph my progress earlier. I started at the point where I had ribs glued in.


 Reply With Quote
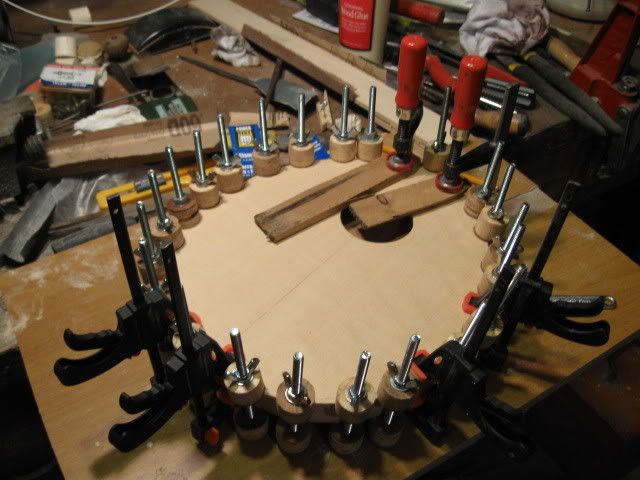


's Avatar")


Bookmarks